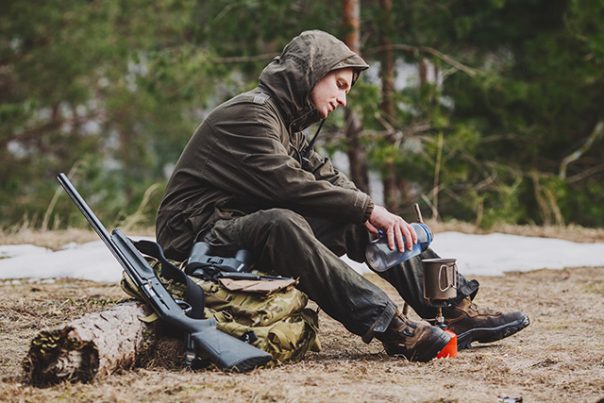
How to build a survival stove out of easily found items
Thursday, June 28, 2018 by Zoey Sky
http://www.bugout.news/2018-06-28-how-to-build-a-survival-stove-out-of-easily-found-items.html

When camping, the ideal cooking method is a handy camp stove or tabletop grill. But what do you do if you somehow lose your stove?
To make a survival stove, you’ll need the following. (h/t to WildernessCollege.com)
- Duct tape or masking tape
- A nickel/penny
- A thumbtack
- Two aluminum soda/beer cans
- Work gloves (optional)
Follow the steps below:
- Wrap some tape around the base of one can. Make the bottom edge of the tape line up with the bottom edge of the graphics on the can. This will be your guide for the next step.
- Take the thumbtack and start scraping a line right by the top edge of the tape. Press the sharp point of the tack into the can at an angle then draw it across the surface. This will leave a scratch or groove in the aluminum, but do not press hard enough to perforate the can. Scrape the can at least two or three times to make a deep groove.
- Remove the tape from the can.
- Poke a few holes near the top of the can (far from the groove) using the thumbtack. When you have several holes, take the thumbtack and use it to open the side of the can.
- If you have some work gloves, put them on before you proceed. Carefully bend and twist the can until you tear the aluminum near the holes you created with the thumbtack. Slowly tear the can until it looks like a spiral.
- Keep tearing the aluminum in a spiral. When the tear meets the groove you made earlier, continue until you go all around the can. When you’re done, you’ll have a cleanly cut can-bottom. This will be the first part of the survival stove.
- Repeat steps one to six with the other can.
- Take the thumbtack and poke a hole in the center of one of the can bottoms. Use steady force to make a hole in the can since the aluminum is thicker in this part. The hole you make will serve as the fuel hole of the stove.
- Make sure you keep the gloves on because you now have to force the two ends together like you’re putting the lid on a jar. This will be tricky because the cans are almost the same diameter, but keep going until one can “nests” inside the other.
- Push the two can bottoms together until they fit snugly. There might be a couple of bumps once the inner can crumples outward a little bit, but if the outer can wall is intact, the stove will work.
- Take the can bottom with the hole for the stove and pole six to eight holes into the outer edge of the ring on the can. Make sure the holes are evenly spaced so the stove is efficient.
Lighting the stove
The survival stove burns an alcohol-based fuel under pressure. The best option is denatured alcohol since it burns the “cleanest,” but if you don’t have any, substitute 150+ proof vodka or rum, HEET anti-freeze, or rubbing alcohol.
Fire up the survival stove by pouring a couple of ounces of fuel into the fuel hole. Wait a few seconds so it drains into the main chamber. Splash a bit of fuel on the ground near the outside of the survival stove to prime it. Use the nickel/penny to cover the fuel hole for better pressure.
Light the survival stove with a lighter, a match, or flint and steel. Since alcohol burns with a dim blue flame, it can be hard to see when you ignite the stove in full daylight. Check for heat waves to tell if the stove is lit.
Wait a few seconds for the fuel inside the survival stove to reach combustion temperature. The blue flame will start flickering up from the outside holes poked around the edge of the stove.
Make a survival stove before heading out on long outdoor trips so you’ll always have a way to cook even if you lose some or all of your gear.
You can learn more about prepping and alternative cooking methods at Bugout.news.
Sources include:
Tagged Under: Tags: bug out, Collapse, disaster, DIY, off grid, preparedness, prepper, prepping, SHTF, survival, survival skills, Survival stove, survival tools

