How to make a primitive fishing spear: Steps for building a versatile survival tool
Wednesday, August 15, 2018 by Ralph Flores
http://www.bugout.news/2018-08-15-how-to-make-a-primitive-fishing-spear.html

Preparing for emergencies isn’t just about making sure you’re fully stocked, or having the power or food to last you a long time. It’s also about making sure you survive the outdoors so you can come back home.
Let’s say you find yourself alone in the wilderness and are in dire need of food. You hear a river and see fish swimming by. For most people, they either will wish they had their fishing pole with them or will clumsily try to get fish. Luckily, if you’re prepared, you don’t need to be like them. All you need is some elbow grease, a knife, some twine, patience, and you can make your own fishing spear.
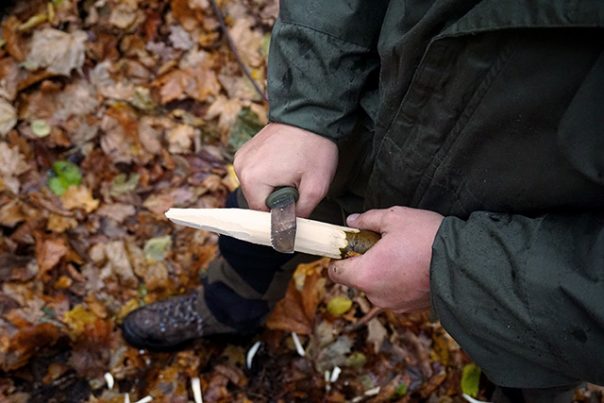
- Choosing a sapling. To start making a spear, we’re going to need good wood to work with. A tall, straight sapling that’s about two inches in diameter should do the trick. Once you’ve found your sapling, look for the end that’s closest to the roots and create a “pressure cut” around the perimeter of the tree using your knife, applying heavy pressure on the knife while rotating the tree.
- Carving one side. After the pressure cut has been applied throughout the tree, shave away the wood on the short end of the tree. As you carve the wood, ensure that one side is pointed to the cut, while the long end remains flat. Thanks to the pressure cut, the carved end becomes weak. Tap the short end of the stick to create a clean break, and discard this end.
- Aligning the knife. Once the short end falls off, it’s time to brace the stick. Secure the small end (the part you did not cut) against a sturdy object to make sure it doesn’t move. Once you have, place the knife-edge across the freshly-broken end. Make sure it’s resting in the middle of the end.
- Splitting the wood. Find a thick piece of wood and use it to tap the back of the knife, much like how you hammer a nail. This ensures that the split will be done in a controlled manner. Don’t go too far down, and always make sure that the split runs exactly down the middle. After that, make another split — this time perpendicular to the first one (it will create a cross-patterned cut). This will divide the thicker end of the sapling into four even sections.
- Securing the splits. Before you continue, cut a piece of cordage about four feet in length. After that, you’ll want to lash the cordage around the sapling around 18 inches from the end you just cut. This makes sure that the wood will not split past it. After you’ve secured the area, continue the splits until they run up to the lashing.
- Fastening the spreader twigs. After that, find and carve two twigs that are a little longer than the width of the sapling. Slide the twigs, one at a time, to the cuts. Make sure it’s as close to the lashing as possible. This will create a cross-shaped protrusion that will open up your spear, as you see the sections spread out. Lash the twigs securely with another piece of cordage.
- Sharpening the tips. Once you’re done lashing, start on shaving the tips from the outside. To begin, point the spear away from you and carve away from your body with the knife. Then work on the inside of the spear by stabilizing your spear, and gently pulling the knife toward you.
Of course, no one gets great at using tools just by reading it. Much like how our ancestors used primitive tools to survive, actually experiencing how it works it the best way to prepare. Who knows? It might come in handy the next time. (Related: Camping: A great way to practice how to live after SHTF.)
Learn more ways to protect yourself and survive by going to Preparedness.news today.
Sources include:
Tagged Under: Tags: emergency preparedness, fishing, preparedness, prepper, survival, Survival Tips, survival tools

