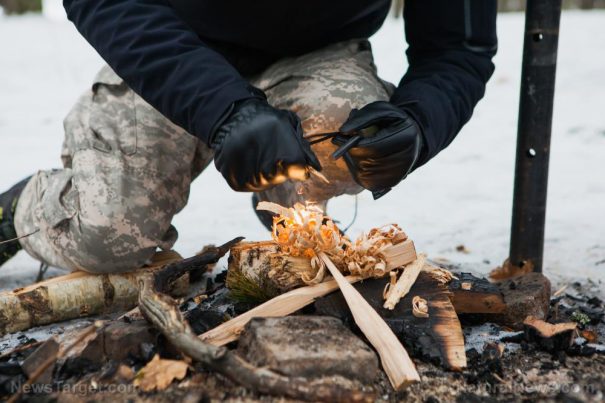
How to a dig a Dakota fire hole
Tuesday, November 27, 2018 by Mary Miller
http://www.bugout.news/2018-11-27-how-to-a-dig-a-dakota-fire-hole.html

Any prepper worth their salt should know how to build a proper fire, but when SHTF, you’ll have to start thinking about long-term survival. Knowing how to build a basic campfire might tide you over for a short period of time, but it might not be enough in the long run. Such fires require large amounts of wood to consume, and in turn, release a lot of smoke.
For a long-term sustainable source of fire, you can learn how to build a Dakota fire hole. (h/t to ModernSurvivalBlog.com)
The Dakota fire hole is an ancient fire-making technique that is used to build efficient, clean-burning, and easily concealable fires. Dakota fire holes have a number of advantages over conventional fire-making methods. For one, they burn more efficiently and require less firewood to maintain, allowing you to worry less about having to constantly feed your fire or having to damage your environment to do so.
Dakota fire holes are also called smokeless fire pits: The fire burns below the surface, which makes the smoke less visible and can be easily concealed. They are easy to cook over and they can burn at very high temperatures, allowing you to cook food and boil water faster.
Dakota fire holes are easy to manage even during windy conditions. A properly built Dakota fire hole will remain protected from strong gusts and your flame will not go out.
Overall, knowing how to properly build a Dakota fire hole is an essential skill for your long-term off-grid survival, especially if you’re trying to avoid detection. (Related: Conceal your raging campfire with the ancient Dakota fire hole technique.)
Site selection
You can’t build a Dakota fire hole just anywhere. For instance, an area that has too many rocks or roots in the way will make building your fire hole very difficult. Moist or damp soil will only smother your fire. Let your location work with you, not against you. Build your fire hole far away from areas where the water table is close to the surface. Find a favorable area with dry, compact soil, but not too compact. If the soil is too loose, your fire hole will not be able to hold its shape. If too compact, it will be a hassle to build.
Digging a Dakota fire hole might require a lot of energy at first but it will be worth the effort, given the right conditions. If you also want to avoid further detection, you can build your fire hole near the canopy of a tree. This will help diffuse the smoke even more.
Digging your fire pit chamber
Take your shovel from your trusted bug-out bag and begin digging a hole around one foot in diameter. It should be wide enough to accommodate a small fire tipi inside it. It should also be around one foot deep, preferably around 12 to 16 inches into the ground. You can make the bottom of the pit even larger than the surface hole so that you can fit longer pieces of firewood into the fire pit chamber.
Digging your airflow tunnel
Once you are done digging the chamber, you can start digging your airflow tunnel. Measure a spot around one foot away from the fire chamber hole and begin digging there. The opening that will serve as the tunnel’s surface hole should be upwind from the fire chamber hole. It should also be around 6 inches in diameter and should angle down toward and into the bottom of the fire pit chamber.
Igniting the fire pit chamber
Find twigs and sticks to use as kindling and fill the fire pit partway with it. Ignite the fire pit with the help of matches and tinder from your bug-out bag. Make the fire stronger by gradually feeding it more wood. The fire will suck in air from the airflow tunnel, which will result in a much hotter and more efficient burning fire.
Find more tips on how to build your own fire for when SHTF at Survival.news.
Sources include:
Tagged Under: Tags: bug out, bug out bag, building fire, campfires, camping, Dakota fire hole, DIY, fire pit, off grid, outdoors, preparedness, prepper, prepping, self sufficiency, self-reliance, SHTF, survival, survival skills, survivalist, sustainable living, wilderness

