First aid tips: Learn these splinting techniques to prevent further injury when SHTF
Thursday, November 07, 2019 by Zoey Sky
http://www.bugout.news/2019-11-07-first-aid-splinting-techniques-to-prevent-injury.html
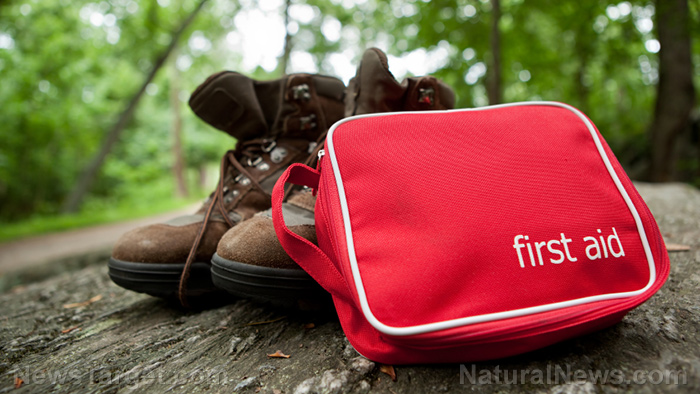
First aid is a crucial prep that can help prevent injuries or loss of life when SHTF. One first aid skill all preppers should know is how to make a splint to protect an injury and prevent further damage. (h/t to PreppersWill.com)
The splinting techniques and guidelines detailed below will prove useful when addressing arm or leg fractures. In a post-SHTF world, medical aid won’t always be available. This makes first aid an essential skill in your arsenal so that you can take care of yourself or people in your survival group.
What is a splint?
A splint is a piece of medical equipment that keeps an injured body part from moving. The splint also protects your arm or leg from further damage.
Splints can also be used to address a severe strain or sprain in your limbs. A properly applied splint will help relieve the pain caused by an injury.
In a survival scenario, you can make a temporary splint using simple materials. Use something rigid to stabilize the fracture, like a heavy stick or board.
When using material with sharp edges or a surface that could cause splinters (e.g., a stick or board) pad it well by wrapping it in a clean piece of cloth. Proper padding will also help reduce additional pressure on the injury.
Fasten the homemade splint, and keep it in place by using belts, ropes, shoelaces, or medical tape. Do not put commercial tape (e.g., duct tape, etc.) directly on someone’s skin.
Splinting 101
Fractures may look different, but you can confirm injuries by asking the patient questions. Their answers will help you determine the best course of action.
Here are some tell-tale signs of a fracture that apply to almost every scenario:
- The patient may have heard the bone break
- Apparent angulation or abnormality, or when the bone’s axis has been severely altered
- The bone ends are usually visible in an open (compound) fracture
- Discoloration or swelling may occur in a specific area
- You or the patient may feel the bone ends grating inside the skin
A medical professional should make a proper diagnosis of a fracture, but this isn’t always an option when SHTF. Do your best to splint suspected fractures.
Let a professional reduce or set a fractured bone. Fractures can be set up at least a couple of days later without any problems. It is not worth causing damage to the patient’s blood vessels, nerves, or life if you can get in touch with a doctor.
Follow these general rules for splinting:
- Never move the victim unless you need to and after you have splinted the fracture/s.
- Cover all wounds on the injured limb with clean bandages before splinting.
- Carefully remove or cut away clothing that covers the injured limb.
- Make sure the splint immobilizes the fracture above and below the break.
- Before, during, and after the splint is applied, check the patient’s wrists or feet for pulses. Any changes in color or sensation of feeling are signs of circulation problems because the splint was too tight or applied incorrectly.
Types of splints
There are three general categories of splints: rigid, soft, and traction splints.
Each type of splint is applied differently, but all three uses the same principle of traction. To apply traction, gently pull the limb in a straight line away from the patient’s body.
Traction helps reduce pain and prevents further injury. Never use traction if a patient has a severely angulated fracture. These types of fractures must be “splinted as they lay.”
It is best to address femur or thigh bone fractures with a traction splint. If you don’t have one, splint it as it lays. (Related: Crucial first aid skills you need to learn before going off grid.)
Rigid splints
Rigid splints can be made of firm, non-flexible materials like cardboard or fiberglass. Improvise a rigid splint using newspapers or broomsticks.
Rigid splints are padded because they support the injury and minimize the patient’s discomfort. Use paddings like rolled or folded sheets or clean towels. Place the padding between the splint and the injured limb as the splint is applied.
Both arm and leg injuries use the basic principle for the application of rigid splints. It is best to have two people apply a rigid splint.
Steps:
- Apply dressings to the wounds on the injured limb.
- Have one person gently support the injured limb and apply slight traction.
- Have the second person position the splint alongside, over, or under the injured body part. They should also put the padding between the splint and the injured limb.
- Securely wrap the splint. Have the second person start at the end of the splint closest to the body, then work toward the hand or foot. Use roller gauze.
Soft splints
Soft splints are usually made of heavy-duty double-walled and transparent plastic. They are available in different shapes and sizes, while some also have zippers for easier application.
Air splints are compact, fairly light, and easy to apply. When inflated properly, air splints can be used to apply gentle pressure to a bleeding wound.
Steps (for an air splint with a zipper):
- Apply bandages to bleeding wounds on the injured limb.
- Have one person apple gentle traction to the injured limb as they support the fracture site.
- Have the second person slide the deflated splint onto or around the injured limb.
- Have the first person gently change hands from inside the splint to the outside as the second person supports the fracture. Maintain traction while changing hands.
- Close the zipper.
- The second person inflates the splint by mouth. Air pumps may overinflate the splint and hurt the patient.
Traction splints
Traction splints are a special type of splint used to treat fractures of the thigh bone or a lower leg fracture. Traction splints develop a strong, steady pull that overcomes the strong muscles in the thigh. This helps separate and immobilizes the bone ends.
Traction splints are complicated, so practice applying it before SHTF. Two people are required for a traction splint.
Steps:
- Bandage any bleeding wounds on the injured leg.
- Have the first person squat down by the patient’s foot and put one hand under the ankle as the other hand goes on top of the foot.
- Have the first person apply gentle, even traction by slowly rocking backward.
- Have the second person position the splint with the padded collar against the patient’s hip. Newer splints can also be adjusted for length. Try to position the end of the footrest under the heel and adjust it a bit longer than too short.
- Secure the splint using the straps provided.
- Apply the ankle hitch on the patient and start to tighten the ratchet.
- Slowly tighten the ratchet until the patient’s discomfort is significantly relieved.
- Don’t let the traction off once it is applied until the bone is set.
- Double-check the straps for tightness. Elevate the splint three to five inches from the ground.
- Have one person check the foot’s pulse. Observe the color of the toes.
- Request medical aid when possible.
Traction splints are used for severe injuries that may be life-threatening. For example, if the victim’s femoral artery is severed, they can “bleed out” within minutes.
Pain and splinting
Fractures are painful, and while paramedics have access to painkillers, when SHTF, you need to make do with over-the-counter (OTC) drugs or natural remedies.
To successfully relieve pain caused by a fracture, remain calm, perform proper splinting techniques, and reassure the patient.
Stretchers
If you do not have a commercial stretcher or military surplus litter, improvise. Use alternatives like doors, ladders, or lawn furniture.
You can also use an improvised litter made with a sturdy blanket and poles.
Take note that each type of splint has its pros and cons. Mix and match them to meet your needs and apply them properly to prevent further injury. Practice how to apply splints, so you don’t waste precious seconds when SHTF.
Sources include:
Tagged Under: Tags: emergency medicine, first aid, how-to, off grid, outdoors, pain relief, preparedness, prepping, SHTF, splinting techniques, splints, survival, survival gear, survivalist, wilderness
RECENT ARTICLES
