DIY prepper guides: How to make homemade charcoal
Friday, January 03, 2020 by Darnel Fernandez
http://www.bugout.news/2020-01-03-diy-how-to-make-homemade-charcoal.html

In a post-SHTF world, fuel will become a scarce and valuable resource. You can’t just run into a store to get more. Having a stockpile of fuel, or better yet, learning how to create your own, can give you a significant edge against everyone else trying to survive in any disaster situation. This article tackles how to make your own charcoal, a versatile fuel source that is useful in a variety of situations. (h/t to PreppersWill.com)
Homemade charcoal
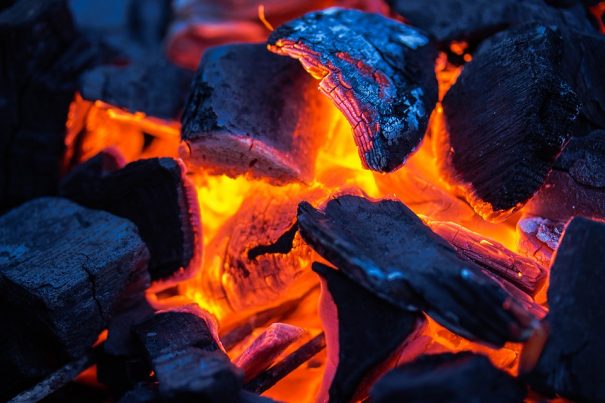
Charcoal is wood that has been “baked,” eliminating impurities like tars, oils and water. Through this process, the carbonized skeleton is left behind and allows the charcoal to burn hotter than wood while producing less smoke. Despite the fall in popularity due to the rise of petroleum products, charcoal should not be neglected as a fuel source, especially in a post-SHTF world. Not only is it easy to make yourself, but it’s also efficient, easy to transport, inexpensive and has high heat content.
Unlike other fuels, charcoal isn’t easily combustible or explosive, meaning you can safely create and store large quantities of it for future use. Charcoal briquettes, for instance, can be stored indefinitely as long as you keep them in an air-tight container free from moisture. (Related: Tips for storing different types of fuel long term.)
Here is a step-by-step guide on how to create your own charcoal using the traditional pit burning method:
- Dig a rectangular pit in firm soil. This can be lined with concrete blocks or sheets of steel to provide a stable structure when the soil is soft. The size of the hole also varies depending on the amount of charcoal you want to make.
- At the bottom of the pit, place several pieces of wood parallel to each other and 18 inches apart to provide air circulation. Afterward, add tightly packed wood across the stringers.
- Fill the pit to about 18 inches above ground level then cover it with flattened metal drums or other variants of steel sheeting. This steel cover should match the dimensions of the hole. This is so it can slowly move down as the burning lessens the volume of the contents of the pit.
- Construct a chimney and air intake at one end of the pit – pile kidling material on the other end.
- Ignite the kindling with a rag soaked in diesel or kerosene, then plug both the chimney and air intake with mud when the smoke disappears.
Once that is done, you would have some perfectly baked charcoal ready for whatever task you need it for.
Charcoal for survival
Beyond cooking and serving as a fuel source, charcoal can be used for a variety of other tasks.
- Camouflage. Some survival situations require you to be sneaky. You can rub charcoal on your skin to turn it black, for camouflage when you’re in the dark. This is also a great strategy to use when hunting game as it makes it much more difficult to see you coming. It can even be used to camouflage your odor, making your presence significantly less noticeable.
- Healing wounds. An infection could spell the end for you in certain survival situations. If you rap a piece of cloth around charcoal and secure it onto an infected wound, it could help draw out the infection and absorb excess moisture from the injury. This could potentially save your life.
- Absorb poisons. Charcoal can absorb toxins without releasing them. If you feel like you’ve eaten something poisonous, ingest a mixture of charcoal and drinking water to absorb the poison as it goes through the digestive tract.
Using the guide above, you should be able to make your own charcoal without any issues. Check out Survival.news for more DIY tools for prepping and survival.
Sources include:
Tagged Under: Tags: camouflage, Charcoal, disaster, DIY, emergencies, fuel source, preparedness, prepper, prepper guides, prepper tips, prepping, SHTF, survival, Survival Tips, survivalist

