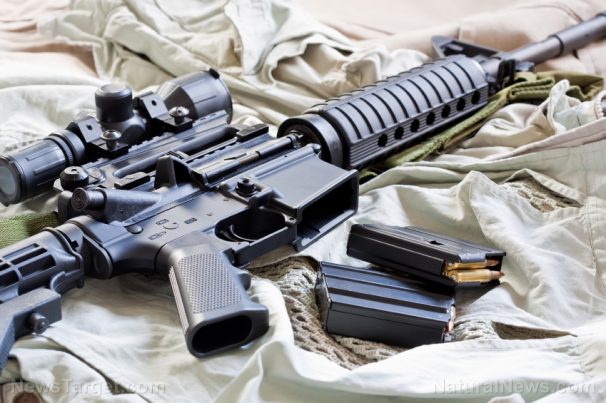
A DIY guide to building a survival rifle using hand tools
Tuesday, February 18, 2020 by Darnel Fernandez
http://www.bugout.news/2020-02-18-building-a-survival-rifle-using-hand-tools.html

One of the most important tools any prepper should have in their prep kits is a means to defend themselves. It can be a knife or a good rifle. You would be hard-pressed to find a prepper who doesn’t have some type of protection for themselves and their homestead or bug-out shelter. If you are in need of a good firearm for self-protection, it might be difficult to get one depending on where you live. Rifles have been heavily lobbied against and are even restricted in some places. Thankfully, building your own survival rifle is a legal and effective way to procure your own firearm for self-defense. (h/t to PreppersWill.com)
Building your own do-it-all lifesaver
Rifles have two primary purposes: for hunting and for protection. While you are free to customize based on either purpose, creating an all-purpose survival rifle will get you the most bang for your buck, though at the cost of losing a bit of efficiency in both.
Once you’ve gathered all the parts you need to create your own AR-15 survival rifle, you can start building the lower receiver or the firearm itself. You can buy a stripped-down lower receiver at your local gun shop, but doing so requires a ton of paperwork and a few extra fees and taxes, depending on where you live. Because of this, the best approach to building your own survival rifle “off the books” and without hassle is to use an 80 percent lower receiver.
An 80 percent lower receiver is a firearm blank that is not regulated by the Bureau of Alcohol, Tobacco, Firearms and Explosives (ATF). In essence, it is almost a firearm, but federal law does not consider it as one. All you need to do is buy your own unfinished receiver and finish it at home. Here are a few steps to turn this incomplete product into an operational firearm:
- Drill the hammer pinhole
- Drill the trigger pinhole
- Drill in the safety selector hole
- Cut the fire control cavity
Once all these steps are completed, you now have a stripped AR-15 lower receiver – meaning that you legally own a firearm. According to the ATF, these kinds of projects are perfectly legal and don’t require a permit, as long as you don’t sell them somewhere. (Related: Essential survival gear for the home.)
Here’s the complete statement on their stance on survival rifle building:
No, a license is not required to make a firearm solely for personal use. However, a license is required to manufacture firearms for sale or distribution. The law prohibits a person from assembling a non–sporting semiautomatic rifle or shotgun from 10 or more imported parts, as well as firearms that cannot be detected by metal detectors or x-ray machines. In addition, the making of an NFA firearm requires a tax payment and advance approval by ATF.
But, the work does not end there. You must still finish the rest of the AR build. To do so, you must gather these specific tools:
- 80 lower jig
- Handheld drill
- Hand router
- Drill press
- Drill bits
- End mill bit
- Table vise
Many AR-15 jigs include pre-drilled and pre-cut templates, so if you’re using a drill press or router jig, most of the work is already done. These templates sit on your receiver, showing you where exactly to cut and drill. Once you finish drilling and cutting, you can install the lower parts kit, buffer assembly, upper receiver, barrel and everything else a firearm needs. Once that’s done, you can finally be a proud owner of a self-made rifle built from scratch.
This DIY survival rifle is sure to keep yourself safe during any emergency scenario. Want more gear to complement your new rifle? Check out SurvivalGear.news for recommendations.
Sources include:

